Note: Photographers’ Friday is a weekly blog series directed toward professional photographers, and in some instances, serious amateur photographers. All Photographers’ Friday blog posts will assume that readers have a basic working knowledge of digital SLR cameras, but if you’re left with questions or don’t understand any of the information, don’t hesitate to ask. We love e-mails!
—
Let’s talk a little about a simple lighting technique today. Specifically, short lighting.
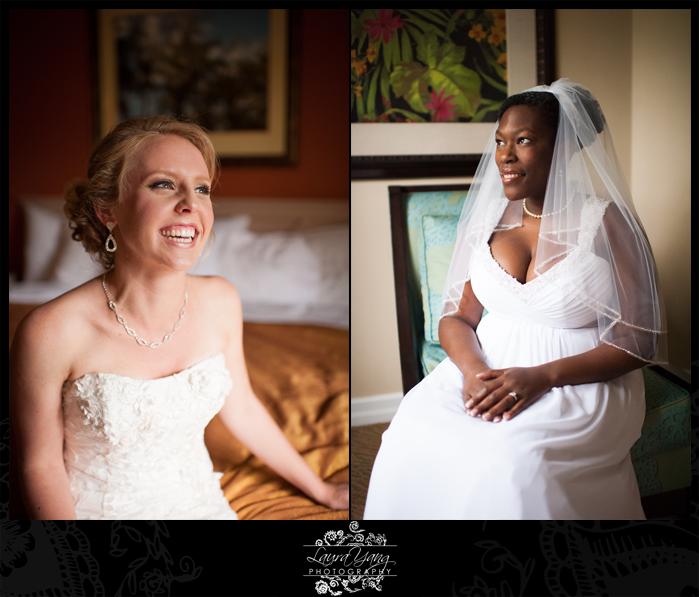
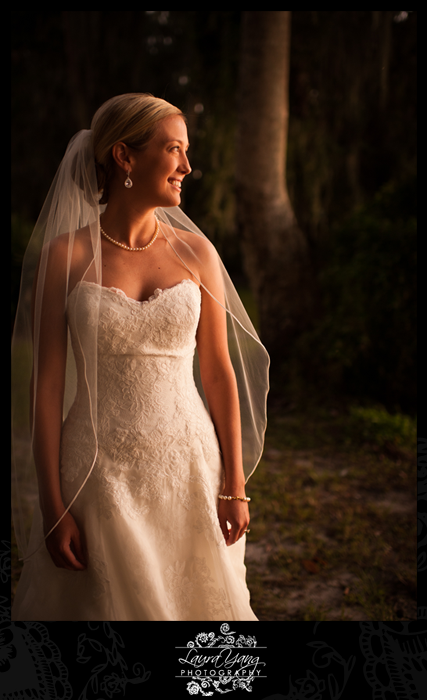
What is short lighting? The quickest, clearest definition I can offer is this: It’s lighting your subject so the near side of your subject’s face is partially obscured by shadow. For an example, here are our two most recent brides, Jordan and Nneka — each in her hotel suite as she finished up prepping to go meet her groom, each short lit as she sat facing a nearby window. First of all, let’s talk about why we like short lighting. There are a few reasons. It’s flattering, for one thing — a swath of shadow on the near-side of your subject’s face contributes to a far more slimming look than fully lighting the near (“broad”) side of your subject’s face, and that holds true regardless of body type. For another thing, it’s more interesting than always photographing your subject with non-directional light washing over her entire face. And there’s one more reason: Short lighting looks timeless, classic, and elegant.
So now let’s look into a little bit of how to short light your subject.
Start by identifying your light source, whether it’s the sun filtering through trees, a window, or an off-camera flash. Then figure out where you’re going to place your subject. Think of it this way: If you drew a line between your camera and your subject, your subject and the light source, and the light source and your camera, you’re going to create a triangle, and the angle of light-to-subject and subject-to-camera are very important in this setup. To effectively short light your subject, you’ll want to position your subject’s face at a roughly forty-five degree angle to the light source. It doesn’t need to be forty-five degrees exactly, but something fairly close. If your subject is closer to a ninety degree angle to the light, your subject will be split lighted (dramatic and striking, but a very different look from short lighting). If your subject is closer to a twenty-five degree angle, you’ll lose your shadow almost completely; only your subject’s ear a a tiny sliver of the jawline will be shadowed (which is also perfectly acceptable, but, again, isn’t short lighting).
I hope if this little explanation taught you one thing, it’s that short lighting is not hard. It’s just a matter of having these angles become second nature, so that positioning your subjects comes naturally to you and you can tweak your angles on the fly. If you want to practice short lighting, you don’t even have to practice on a person; inanimate objects work just fine. But there really is nothing light some beautiful short lighting on a glowing bride. Happy weekend everyone, and happy photographing!
~ Laura
Be the first to comment